Hướng dẫn lấy vị trí hiện tại của thiết bị trong android
Bài hướng dẫn lấy vị trí hiện tại của thiết bị trong android sẽ cho bạn biết làm thế nào để tích hợp mô-đun vị trí trong ứng dụng của bạn.
Nếu bạn đang phát triển những ứng dụng dựa vào vị trí của người sử dụng trên ứng dụng Android, bạn có thể làm cho ứng dụng của bạn thông minh hơn bằng cách tìm vị trí của người sử dụng tự động.
Hướng dẫn lấy vị trí hiện tại của thiết bị trong android – Dowload Google Play services

Mở Android Stuido -> mở Android SDK Manager -> cài đặt Google Play services nếu chưa cài đặt hoặc cập nhật Google Play services nếu đã cài đặt
Hướng dẫn lấy vị trí hiện tại của thiết bị trong android – Tạo project
1. Mở Android Studio, chọn File -> New -> New Project
2. Mở Gradle Scripts/build.gradle (Module:app) và thêm đoạn code sau vào trong dependencies, sau đó chọn “Sync Now“ (Lưu ý tại thời điểm chúng tôi viết bài, phiên bản mới nhất của Google Play services là 11.8.0)
compile 'com.google.android.gms:play-services-location:11.8.0'

3. Mở app/manifests/AndroidManifest.xml
Bổ sung quyền cho ứng dụng (Lưu ý bổ sung trước thẻ mở <application>)
<uses-permission android:name="android.permission.ACCESS_COARSE_LOCATION"/>
Và meta-data cho google play services version (Lưu ý vị trí thêm meta-data là trước thẻ đóng </application>)
<meta-data
    android:name="com.google.android.gms.version"
    android:value="@integer/google_play_services_version" />
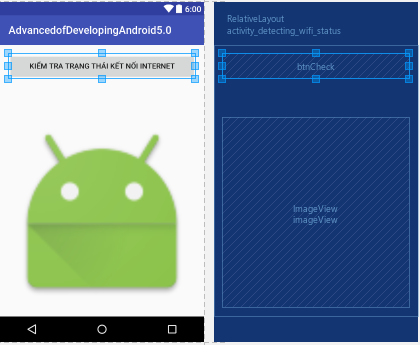
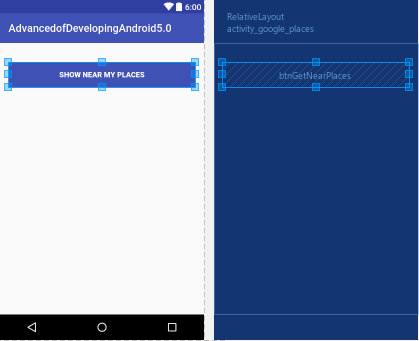
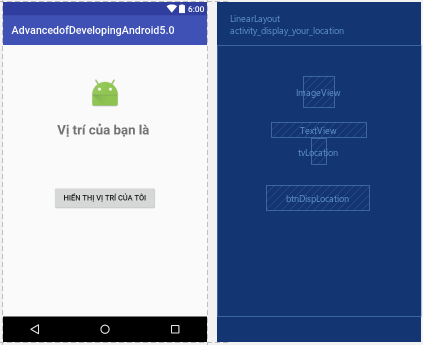
4. Mở app/res/layout/activity_main.xml và thiết kế layout cho ứng dụng

5. Mở MainActivity.java cài đặt interface ConnectionCallbacks và OnConnectionFailedListener.
public class MainActivity extends AppCompatActivity implements GoogleApiClient.ConnectionCallbacks,
        GoogleApiClient.OnConnectionFailedListener{
    private Location location;
    // Đối tượng tương tác với Google API
    private GoogleApiClient gac;
    // Hiển thị vị trí
    private TextView tvLocation;
    @Override
    protected void onCreate(Bundle savedInstanceState) {
        super.onCreate(savedInstanceState);
        setContentView(R.layout.activity_display_your_location);
        tvLocation = (TextView) findViewById(R.id.tvLocation);
        // Trước tiên chúng ta cần phải kiểm tra play services
        if (checkPlayServices()) {
            // Building the GoogleApi client
            buildGoogleApiClient();
        }
    }
    public void dispLocation(View view) {
        getLocation();
    }
    /**
     * Phương thức này dùng để hiển thị trên UI
     * */
    private void getLocation() {
        if (ActivityCompat.checkSelfPermission(this, Manifest.permission.ACCESS_COARSE_LOCATION) != PackageManager.PERMISSION_GRANTED) {
            // Kiểm tra quyền hạn
            ActivityCompat.requestPermissions(this,
                    new String[]{Manifest.permission.ACCESS_COARSE_LOCATION}, 2);
        } else {
            location = LocationServices.FusedLocationApi.getLastLocation(gac);
            if (location != null) {
                double latitude = location.getLatitude();
                double longitude = location.getLongitude();
                // Hiển thị
                tvLocation.setText(latitude + ", " + longitude);
            } else {
                tvLocation.setText("(Không thể hiển thị vị trí. " +
                        "Bạn đã kích hoạt location trên thiết bị chưa?)");
            }
        }
    }
    /**
     * Tạo đối tượng google api client
     * */
    protected synchronized void buildGoogleApiClient() {
        if (gac == null) {
            gac = new GoogleApiClient.Builder(this)
                    .addConnectionCallbacks(this)
                    .addOnConnectionFailedListener(this)
                    .addApi(LocationServices.API).build();
        }
    }
    /**
     * Phương thức kiểm chứng google play services trên thiết bị
     * */
    private boolean checkPlayServices() {
        int resultCode = GooglePlayServicesUtil.isGooglePlayServicesAvailable(this);
        if (resultCode != ConnectionResult.SUCCESS) {
            if (GooglePlayServicesUtil.isUserRecoverableError(resultCode)) {
                GooglePlayServicesUtil.getErrorDialog(resultCode, this, 1000).show();
            } else {
                Toast.makeText(this, "Thiết bị này không hỗ trợ.", Toast.LENGTH_LONG).show();
                finish();
            }
            return false;
        }
        return true;
    }
    @Override
    public void onConnected(@Nullable Bundle bundle) {
        // Đã kết nối với google api, lấy vị trí
        getLocation();
    }
    @Override
    public void onConnectionSuspended(int i) {
        gac.connect();
    }
    @Override
    public void onConnectionFailed(@NonNull ConnectionResult connectionResult) {
        Toast.makeText(this, "Lỗi kết nối: " + connectionResult.getErrorMessage(), Toast.LENGTH_SHORT).show();
    }
    protected void onStart() {
        gac.connect();
        super.onStart();
    }
    protected void onStop() {
        gac.disconnect();
        super.onStop();
    }
}
Build và run ứng dụng. Kết quả như hình


Hướng dẫn lấy vị trí hiện tại của thiết bị trong android – Bài tập
Hiển thị vị trí hiện tại của thiết bị lên google map. Xem bài Hướng dẫn tích hợp google map vào ứng dụng android.
Các bạn kết hợp bài viết này với bài viết Hướng dẫn tích hợp google map vào ứng dụng android để được kết quả như hình bên dưới

Related Posts